
Your Cart is Empty



Last Updated: October 11, 2026
Proper calibration is the foundation of successful gold prospecting. When your detector is calibrated correctly, it responds to genuine gold signals and ignores false positives from ground minerals and trash.
Beginners who skip calibration often give up within weeks, convinced their detector is faulty. The truth is simpler: their equipment wasn't tuned to their specific soil conditions.
To calibrate gold detectors, you must adjust several key settings to match your local environment. Ground balance, sensitivity, threshold, and discrimination all work together. Get them right, and your detector becomes a precision tool.
Before you begin calibrating, gather these essentials:
Most detectors come with basic test targets. If yours doesn't, dedicated test kits are available. Having the right tools makes the process faster and more accurate.
Ground balance is the most critical calibration step. It tells your detector to ignore the mineral content in soil so it responds only to metal targets. Without proper ground balance, mineralized soil creates constant false signals that drown out genuine gold targets. Ground balancing works by comparing your detector's response to the surrounding soil, learning the baseline "noise" and filtering it out.
Mineralized soil is common across gold prospecting regions. High iron content, salt deposits, and other minerals create electrical noise that confuses detectors set to factory defaults.
Hold your detector coil 15 centimetres above the ground and slowly lower it until it's just touching the soil surface.
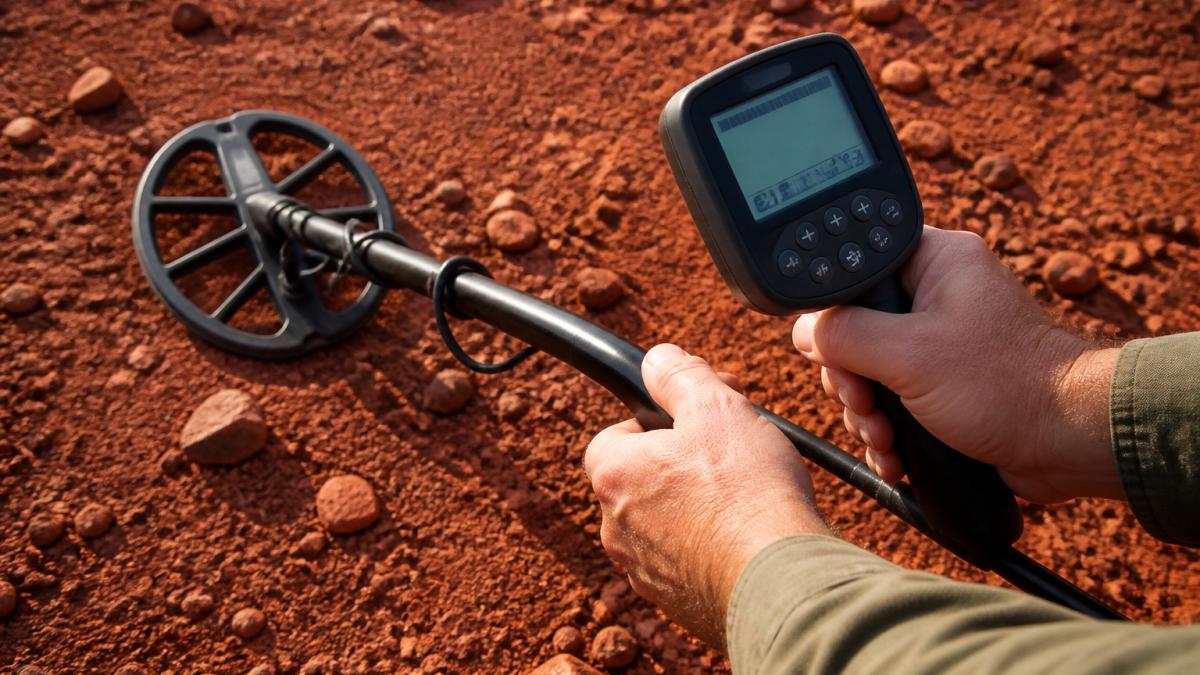
Soil composition changes as you move across your prospecting site. A setting that works perfectly 100 metres away may create constant false signals where you're standing now. Spend two minutes recalibrating whenever you move to noticeably different soil. Some detectors offer automatic ground balance tracking; if your model has this feature, enable it.
Sensitivity controls how deeply your detector can search and how strongly it responds to targets. Too high, and ground noise overwhelms your audio; too low, and you miss targets. For gold hunting, most prospectors run sensitivity between 70 and 90 percent, depending on soil conditions.
Start at 75 percent sensitivity in your prospecting area. Listen to the background noise level, you should hear a steady hum or tone. Test this setting with your test targets; a small gold sample should produce a clear, distinct tone that stands out from the background noise.
The threshold is the baseline audio tone your detector produces. Adjust your threshold so you hear a steady, quiet audio tone, just barely audible. If it's too loud, you won't hear target signals; if it's too quiet, you'll miss subtle signals from small gold particles. Most detectors let you adjust threshold from 0 to 100; start at 30 and adjust until you achieve a consistent, low-level tone.
|
Setting |
Effect |
Best For |
|---|---|---|
|
Too high |
Loud background noise masks target signals |
Not recommended |
|
Too low |
Signals from small targets disappear |
Not recommended |
|
Optimal |
Clear distinction between noise and targets |
Gold prospecting |
Test targets let you verify that you calibrate gold detectors correctly before you start hunting. A repeatable test procedure with recorded baselines helps you distinguish true calibration drift from technique changes or ground-condition variations.
Create a test area in soil similar to your prospecting ground. Bury your test targets at a fixed depth, 10 centimetres is standard, and record their exact location, target type, date, detector settings (ground balance number, sensitivity %, threshold level), and audio response observed. This baseline record becomes your reference. When you recalibrate weeks or months later, repeat the same sweep and compare the audio response to your baseline. If the signal is noticeably weaker or the tone less distinct, your detector may need servicing or your settings have drifted.
Sweep your coil over each target at three different heights: just touching the soil surface, 5 centimetres above ground, and 10 centimetres above ground. At each height, approach the target from two directions. A well-calibrated detector should produce a consistent signal regardless of direction, though signal strength naturally decreases with distance. If one approach direction produces a noticeably weaker signal, your coil may be slightly damaged or your ground balance may be off in that direction.
You can create your own test targets for less money. A small piece of gold jewellery (wrapped in plastic), iron nails, bottle caps, and a small lead sinker work well. Bury these targets 10 centimetres deep in your test soil and sweep over them systematically. Your detector should respond clearly to each, and the response should be consistent across multiple sweeps.
Field testing is the final step before you hunt seriously. Take your detector to your prospecting site and run through your test targets in actual soil. Carry a small test kit in your detector bag and verify your calibration every hour or two during long hunts. If your field test signals are significantly weaker than your baseline record, first check that your coil is clean and undamaged, then recalibrate ground balance and sensitivity in the new soil. If signals remain weak after recalibration, your detector may need professional servicing.
Rushing through calibration is the most common error. Never calibrate in a location different from where you'll hunt, soil varies significantly. Always ground balance in the actual soil you're prospecting. Ignoring your detector manual is another frequent mistake; different models have different calibration procedures. Adjust one setting at a time, test it, then move to the next. Forget to recalibrate when soil changes and you'll dig holes for false signals and miss real targets.
When your detector misbehaves, use this systematic diagnosis to isolate the problem before making changes.
Before you adjust anything, run your test gold target over your coil. You should hear a clear, distinct signal that differs from the background audio.
If you hear no signal over gold:
If your detector still produces no signal after these checks, it likely needs professional servicing.
If you hear a signal over gold, proceed to Step 2.
Listen to the audio tone when your coil is held 30 centimetres above the ground, away from any targets or metal objects.
If the background tone is unstable, jumping or crackling randomly:
Your ground balance is incorrect or your sensitivity is too high. Return to the ground balance procedure and find the neutral point where the meter neither spikes nor drops. If noise persists, lower your sensitivity by 10 percent and test again.
If the background tone is stable and consistent, proceed to Step 3.
Run your test gold target over your coil at a consistent height (5 centimetres above ground). Listen for a change in the audio tone.
If the target signal is clear and distinct from the background:
Your calibration is working. Proceed to field testing.
If the target signal is weak or blends into the background noise:
Increase sensitivity by 5 percent and test again. If sensitivity is already above 80 percent and the signal is still weak, lower your threshold by 3-5 points.
Hold your coil steady 15 centimetres above the ground in an area you've confirmed is free of targets. Listen for 30 seconds.
If you hear occasional beeps or tone changes:
Recalibrate ground balance. If false signals persist, lower sensitivity by 5 percent and retest. If false signals continue, move to a cleaner area, some prospecting sites have patches of highly mineralised soil that create persistent noise.
If the audio is stable and silent (or a steady hum with no beeps), your calibration is sound.
Bury your test gold target at 15 centimetres depth (deeper than your normal 10 centimetre test). Sweep your coil over it.
If you hear a clear signal:
Your detector has good depth penetration. Your calibration is appropriate for the soil conditions.
If you hear no signal or a very weak signal:
Your sensitivity may be too low, or the soil mineralisation is limiting depth.
If you've worked through all five steps and your detector still fails to produce clear signals over known gold targets, or if you encounter unstable audio that recalibration cannot fix, your detector likely needs professional servicing. Do not continue adjusting settings.
Common reasons to seek professional help:
A qualified technician can diagnose these issues and repair or replace faulty parts. Attempting further calibration will not resolve hardware problems.
Ground balance your detector at the start of each outing and whenever you move to a significantly different soil type. If you're working in highly mineralized ground, check your ground balance every 30–45 minutes, as soil composition can shift and cause false signals. Recalibration takes only a minute and prevents wasted time digging false targets.
Start at 50% sensitivity in mild soil conditions. In highly mineralized or wet ground, reduce it to 30–40% to minimise false signals. In clean soil, you can push it to 70–80% for greater detection depth. Always test your settings with known gold targets before heading into the field to ensure your detector responds correctly.
Poor calibration is often the culprit. Check that ground balance is properly set for your soil type, sensitivity isn't too low, and threshold is audible but not overwhelming. Also verify you're using the correct search coil for small gold nuggets and that your test targets match the size you're hunting. If issues persist, consult your detector's manual or contact Lost Treasures for professional guidance.
Tune your detector by adjusting three key settings: ground balance (to eliminate soil noise), sensitivity (to detect at depth without false signals), and threshold (to establish a baseline audio tone). Use small gold test targets to verify each adjustment works. Fine-tuning usually takes 10–15 minutes and should be repeated whenever soil conditions change significantly.
Comments will be approved before showing up.


