
Your Cart is Empty



Last Updated: October 18, 2026
Metal detector hire for beginners lets you test the hobby before investing hundreds of dollars and discover whether you enjoy it, what terrain suits you, and which features matter.
Hiring lets you build skills on quality machines without financial risk. At Lost Treasures, we support beginners with professional-grade detectors, expert setup guidance, and flexible upgrades or returns.
Renting solves the beginner's dilemma: expensive detectors sit unused if you lose interest, yet cheap machines frustrate you with poor performance.
Your first detector shapes your entire experience. Too complex and you'll spend weeks learning menus; too basic and you'll hit targets you can't identify or reach. The sweet spot is automatic search modes and simple controls.
Automatic search modes adjust sensitivity and frequency for parks, beaches, or fields, so you turn on the machine and start searching without touching settings.
Manual tuning gives experienced detectorists fine control over ground balance, discrimination, and frequency, but as a beginner this flexibility will confuse you more than help you.
The Nokta FindX Pro is purpose-built for this. Its fully automatic Field, Park, Jewelry, and Beach modes mean you select your environment and detect, with no menus to navigate or settings to second-guess.

Terrain varies wildly: red soil, clay, mineralised ground, salt-affected beaches, and rocky fields all behave differently, and a detector that excels on one can struggle on another.
Waterproof detectors let you search shallow streams, wet sand at the tide line, and boggy areas where dry-ground machines fail.
Look for detectors with ground balancing, which adjusts automatically for mineralised soil that would otherwise cause false signals.
A complete rental package should include the detector, a search coil, headphones, and a digging tool. Many beginners think they need more; they don't. What matters far more than accessory count is whether the detector suits your ground and targets.
For a beginner, five features do most of the work:
Features that matter less at the start: wireless audio, GPS logging, multiple simultaneous frequencies, and deep custom programs. They're useful later but add menus and cost before you have the basics.
Different activities reward different designs. Use this as a starting point with your rental provider:
A common pattern is to hire a general-purpose machine for a first park or beach session, then a prospecting-capable unit for a dedicated gold trip, which costs less than buying the wrong machine first.
The search coil finds targets. Smaller coils (20-23 cm) work well in cluttered areas; larger coils (25-30 cm) cover more ground but struggle in trashy spots.
Headphones matter more than people expect: they let you hear target signals clearly without draining the battery on speaker mode, and reduce fatigue by letting you hear subtle signals without straining.
A digger is essential: a simple folding shovel costs little but saves your hands, and digging with your fingers wastes time and damages finds. A pinpointer speeds up locating targets in the hole and is worth requesting if your provider offers one.
Beyond these basics, you don't need much. Gloves help in rough ground and a finds pouch keeps items safe, but these are nice-to-haves, not essentials.
Metal detector hire for beginners comes in flexible periods to match your schedule and budget. Confirm the current rate before booking.
Half-day rates are highest per hour but lowest in total cost; weekend rates offer the best value per day. If unsure, a full-day rental is the usual starting point.
A well-structured rental package usually includes the detector, a charged battery, a search coil, headphones, and a basic digging tool. Confirm each item before you leave, because inclusions vary widely.
Common add-ons or exclusions to check:
Rental deposits protect equipment. You'll typically pay a refundable deposit of about $100-$300 AUD depending on the detector's value, plus the hire fee, returned when the equipment comes back in good condition.
Most providers include basic insurance in the rental fee, normally covering accidental damage but not negligence, loss, or theft.
Late-return fees are the most common surprise charge. Policies vary: some charge an hourly or daily rate, others forfeit part of the deposit, and some allow a next-day drop-off at no charge.
Availability tightens around weekends, school holidays, and peak prospecting seasons, so book ahead for a specific model or weekend slot.
If you are hiring in a remote area, confirm the return process in advance. Some providers offer mail-back options for regional customers, but you will usually pay the shipping and take on the risk of transit damage until the unit is received.
Your first session sets the tone for the hobby. Approach it methodically and you'll build good habits from the start.
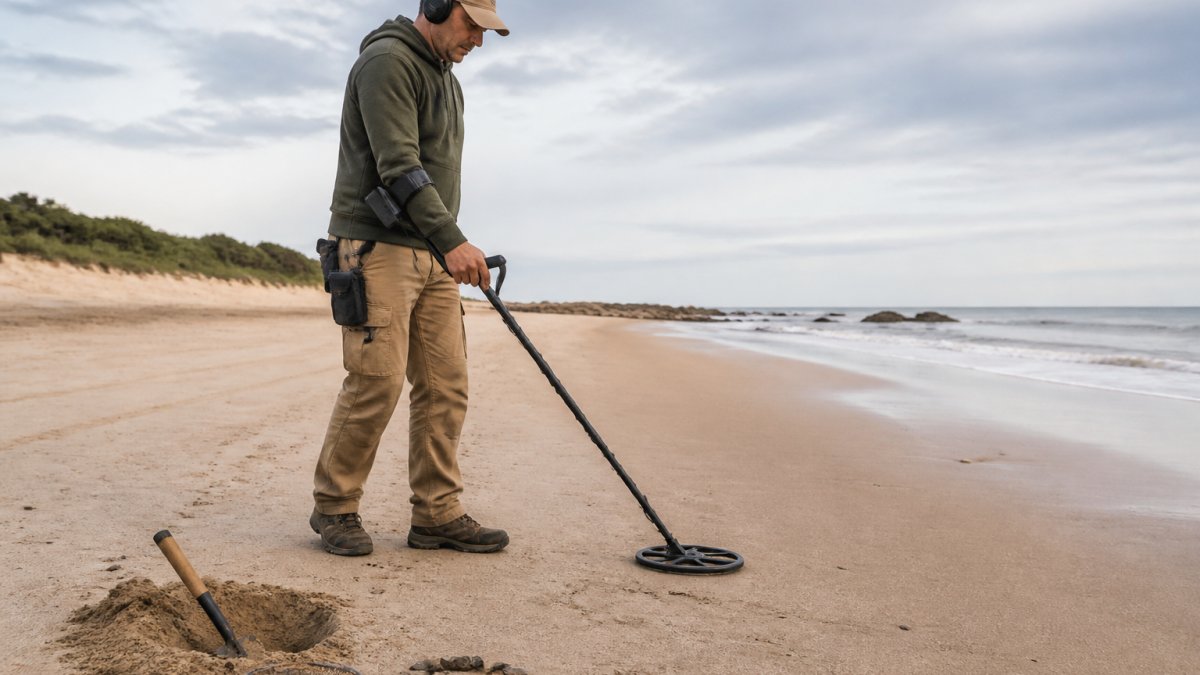
Preparation separates successful sessions from frustrating ones. Bring water; detecting is physical work and dehydration clouds your judgment.
Bring your finds pouch, digger, and headphones. Many rentals include these, but confirm before leaving.
Check weather and ground conditions. Wet ground is harder to dig but sometimes more productive.
Arrive early. Your first session shouldn't be rushed. Give yourself time to familiarise yourself with the detector before searching seriously.
The biggest mistake is searching too fast. Beginners sweep the coil quickly, missing targets.
Another common error is ignoring the ground. Different soil types require different settings.
Beginners often dig too shallow. Many targets sit 15-30 cm deep. A shallow scrape won't reach them.
Expecting treasure on day one sets you up for disappointment. Your first session will likely yield bottle caps, nails, and aluminium foil.
Renting versus buying depends on your commitment level and budget.
Rent if you're genuinely uncertain about sticking with the hobby.
Buy if you're confident you'll detect regularly (at least monthly). Ownership costs less per session over time.
Consider future-proofing. Modern detectors like The Legend 2 and Garrett Vortex VX9 use firmware that updates over time.

Lost Treasures stocks machines at every price point.
Metal detecting on someone else's land without permission is trespassing. Always get permission before searching.
Public land rules vary by location. Check with local councils or relevant government agencies for specific regulations.
Private land requires explicit permission from the owner.
Leave the site as you found it. This includes filling in any holes you dig.
Archaeological sites have strict rules. Artefacts on protected sites are often government property and must be reported.
Metal detecting offers genuine rewards: the thrill of discovery, outdoor exploration, and connection to history.
Hiring lets you test the hobby without spending $400-$1,480 upfront. A half-day or weekend rental costs far less and lets you discover whether you enjoy the activity before committing to purchase. Once you're confident you'll stick with metal detecting, buying gives you access to more advanced features. Many beginners hire first, then buy once they know their preferred terrain and target type.
Verify the detector includes all accessories: search coil, headphones, digger, and carrying bag. Test that the battery charges fully and the machine powers on. Confirm the rental includes automatic search modes suitable for your target area (beach, field, or park). Ask about the return process, any damage waiver, and whether support is available if you encounter issues during your hire period.
Start with a half-day or full-day rental to learn the basics without pressure. This gives you 4-8 hours to familiarise yourself with the controls, practise pinpointing, and understand how the detector responds in your local soil. If you enjoy it, a weekend rental (typically Friday to Sunday) lets you explore multiple sites and test different terrains. Many beginners then upgrade to a full week hire to build confidence before deciding whether to purchase.
A quality digger, headphones, and a carrying bag are essential. Most rental packages include these. You'll also want a finds pouch, a pinpointer for precise target location, and gloves for digging. Wear sturdy boots, sun protection, and carry water. For beach detecting, bring a beach scoop. A small notebook helps you record finds and note productive spots. Check your rental agreement to see which accessories are included before you hire.
Comments will be approved before showing up.


