
Your Cart is Empty



Last Updated: October 21, 2026
Few things frustrate more than digging bottle caps, pull tabs, and rusty nails instead of valuable finds. Learning how to stop digging junk is essential to enjoying the hobby and protecting your equipment.
The issue usually isn't your detector, it's not understanding what signals you're chasing. Before you can stop digging junk, you need to know what you're looking for and why your machine responds to certain targets.
Trash rummaging means your detector picks up genuine metal signals, but from junk rather than treasure. Outdoor digging is the physical act of excavating, and the frustration when you pull up rubbish.
Your detector responds to conductivity and ferrous properties in the soil. Bottle caps, foil, and aluminium pull tabs conduct electricity just as well as old coins or jewellery.
Old picnic sites, campsites, and populated areas generate endless false targets. Rubbish dumped decades ago still produces strong responses.
Common junk culprits include:
The key insight: junk isn't random, it clusters in specific locations. Once you identify a junk-heavy zone, adjust your strategy or move to cleaner ground.
Discrimination is your first line of defence against digging junk, letting your detector ignore certain metals based on conductivity.
The trade-off is real: aggressive discrimination can mask genuine finds, and a gold nugget in highly mineralised soil might produce a faint signal that gets filtered out entirely. Start conservative, mild discrimination that eliminates iron and aluminium but keeps your detector responsive to gold, silver, and copper.
The secret to stopping digging junk: learn to read your detector's signals before committing to a dig.
Your detector communicates through sound and visual feedback. A crisp, clear tone usually indicates a good target. A weak, chattering, or inconsistent tone often signals junk or ground noise.
Listen for these patterns:
Visual indicators matter equally. Learn your machine's target ID scale: on a 0-99 scale, iron typically reads 0-20, aluminium 20-40, copper and brass 40-70, and silver and gold 70-99.
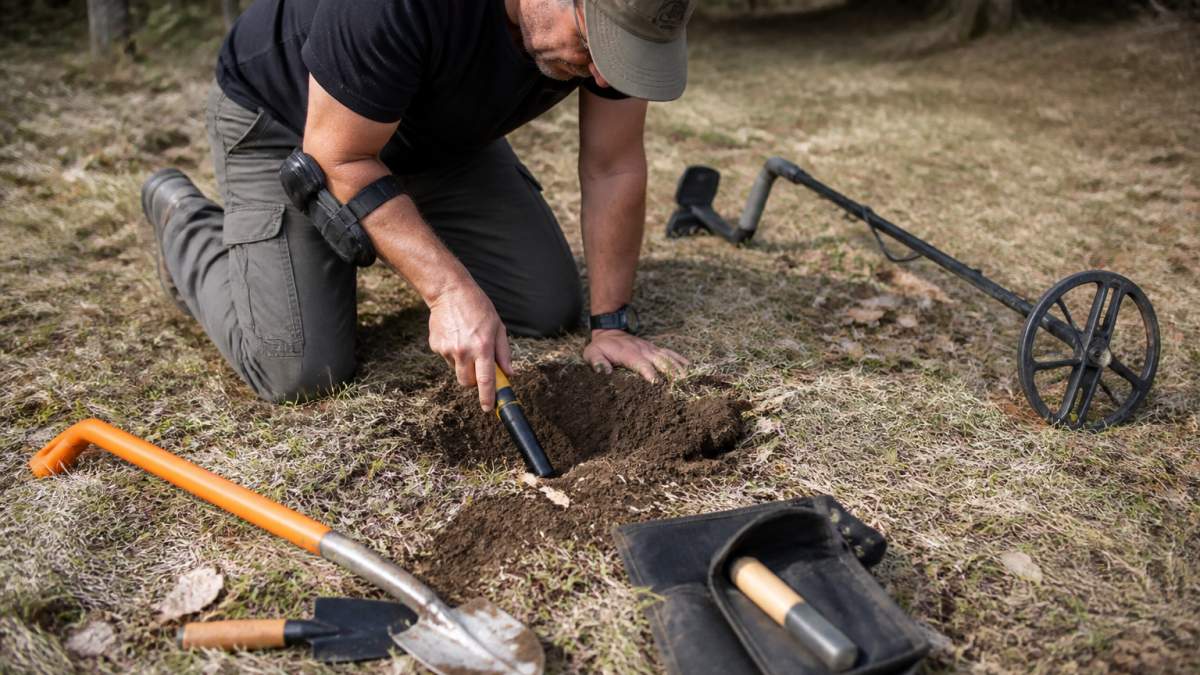
Before you dig, pinpoint, this single step eliminates more wasted effort than any other technique. A pinpointer is a handheld secondary detector that narrows a target to a few centimetres, so you avoid digging a wide hole based on your main detector's general signal.
Lost Treasures stocks pinpointers specifically designed for this task. The XP MI-6 Pinpointer at $299.00 delivers precision and durability for serious detectorists. For those starting out, the XP MI-4 Pinpointer offers excellent value at $259.00. If you're testing the waters, the Ex Demo Nokta Accupoint at $209.00 provides professional-grade performance at a reduced price.


When your pinpointer confirms a tight, consistent signal in a small area, dig. When it wavers or produces weak responses, skip that target. This discipline saves hours.
Sensitivity controls how aggressively your detector responds to targets. High sensitivity picks up distant targets and small objects, but also junk, ground noise, and false signals.
The right sensitivity depends on your environment:
Test settings on known targets before a full day out: bury a coin at various depths and adjust sensitivity until you consistently detect it at your preferred depth.
Bottle caps and pull tabs are the most common junk targets you'll encounter.
Bottle caps are ferrous (iron-lined) with aluminium shells. They typically read in the 15-25 range on your target ID scale.
Pull tabs are pure aluminium. They read 25-40 on your target ID scale.
Discrimination can filter some pull tabs but rarely eliminates bottle caps entirely, so many detectorists learn to recognise the audio signature and skip them.
This is a sequenced plan you can run on any site, in order, from immediate prevention through to follow-up.
Before touching your detector, decide which problem you have. 'Digging junk' covers two situations that need different fixes:
A quick diagnostic: dig 20 signals using your current settings and log what you find. Mostly bottle caps, pull tabs and foil means a signal identification problem; nails, wire and fragmented rubbish in every hole means the site itself is contaminated.
Before any tuning, remove the easiest sources of wasted digging:
Only now adjust settings, changing one variable at a time so you can tell what worked:
Record the settings that work for each site type so you can return to them quickly.
Spend the first 20 minutes of each session testing rather than treasure hunting. Dig every signal that meets your rule and log the result. Digging mostly junk? Tighten the rule or reduce sensitivity. Finding good targets but suspect you're missing others? Loosen the rule incrementally. This loop is how you stop digging junk at a specific location rather than in theory.
Keep a simple log of digs, junk finds and valuable finds. After three outings, calculate your junk-to-treasure ratio: improving means keep the settings and rule; static means return to Step 1 and re-diagnose. Treat your written dig rule and recorded settings as the baseline, changing them only when the log gives you a reason.
If you've worked through the plan and still can't tell good targets from junk, book a session with an experienced detectorist or a training course. A second pair of ears on your machine's audio and a walk-through of your target ID scale often resolves in an hour what weeks of solo trial and error cannot.
Digging junk carries real physical and health risks that most detecting guides gloss over. Here are the hazards you're most likely to encounter, what to do after an injury or exposure, and when to escalate to a medical professional.
Ingestion is uncommon but possible if you eat or drink without cleaning up first, or if you handle soil near your mouth. If you suspect you have swallowed contaminated soil, water or residue:
A proper digging tool gives you control and keeps your hands away from sharps. The Nokta Standard Digger with Belt Holster at $35.00 is a practical starting point, and a pinpointer such as the XP MI-4 Pinpointer at $259.00 lets you locate a target precisely before you cut a plug, reducing the chance of striking glass or needles.
Stop detecting and seek medical advice if you experience a deep puncture, a wound that will not stop bleeding, signs of infection, or any symptoms after suspected ingestion or chemical exposure. If you find a suspicious item such as a battery, pressurised container, ammunition or possible hazardous waste, do not disturb it; note the location and report it to the relevant local authority or land manager.
Keep a simple log: number of digs, junk finds, and valuable finds. After three outings with refined settings, calculate your junk-to-treasure ratio, improving means your approach is working; static means adjust further. Stick with your refined settings until you have solid data suggesting a change.
Digging junk frustrates even experienced detectorists, but it's entirely preventable with the right knowledge and equipment. Our team offers detector hire, comprehensive training, and flexible payment options including Afterpay, Zip, and Humm, so you can invest in success without financial strain. Get in touch with Lost Treasures today to discuss your detecting goals and find the equipment that matches your skill level and ambitions.
Junk signals come from iron trash, bottle caps, and pull tabs buried in high-trash sites. Reduce them by adjusting discrimination settings to reject iron and foil, lowering sensitivity in trashy areas, and using a smaller coil for tighter ground coverage. Test your settings on known targets first. A pinpointer like the XP MI-6 ($299) helps confirm targets before digging, cutting wasted effort on false signals.
Listen for consistent, strong audio signals that don't fade or fluctuate. Junk like bottle caps and pull tabs often produce weak or irregular responses. Use your detector's target ID display if available, coins and jewellery typically fall in mid-to-high ranges, while iron and foil sit at the extremes. Pinpoint the target from multiple angles; a tight, repeatable signal suggests something solid worth excavating.
Yes. Bottle caps and pull tabs are aluminium or steel and register on most detectors, often in the foil range. Bottle caps produce a broad, shallow signal because they're thin and flat. Pull tabs sound similar but are smaller. Both create inconsistent responses if your coil passes over them at an angle. Discrimination settings can reject them, but the most reliable method is to pinpoint carefully and learn their signal signature through practice on known samples.
Start with discrimination to reject iron and foil, this eliminates the majority of junk. Next, lower sensitivity in high-trash ground; this reduces false signals from small bits of metal. Increase ground balancing if your detector has it, to adapt to mineralised soil. Use a smaller coil for precision in cluttered sites. Finally, slow your sweep speed to give the detector time to analyse each target properly rather than rushing over signals.
Comments will be approved before showing up.


